IDE Overview
What is an IDE?
With the hurdles of developing java programs using visual editor, java IDE was born. Depending on your coding style, you can select below list which is the best IDE that suits your needs.
For personal preference, my Java IDE of choice is Eclipse. Because it is very light weight and easy to understand. All the companies that I have joined in uses Eclipse. Because of this reason, for the sake of professional development, I will be using Eclipse only on this java tutorial.
Eclipse Installation and Configuration
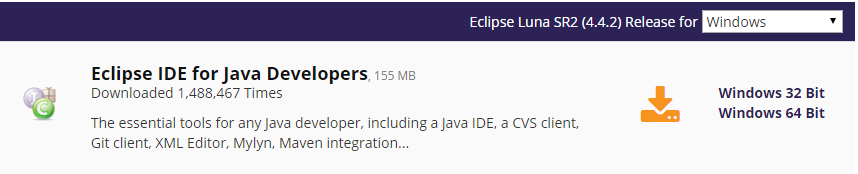
If you have not downloaded eclipse yet, please do so and we will go through the step by step process on how to install it.
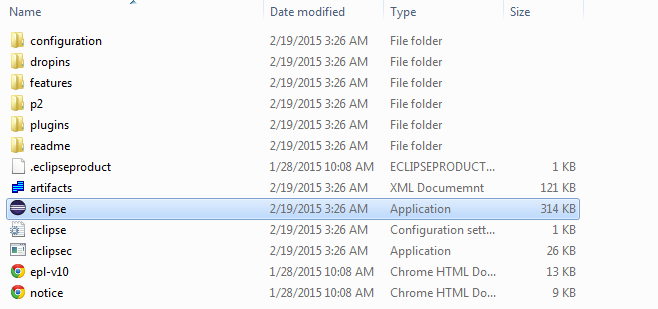
Eclipse is very simple, just unzip the archive that you have downloaded and you are good to go. To run eclipse just double click eclipse.exe.
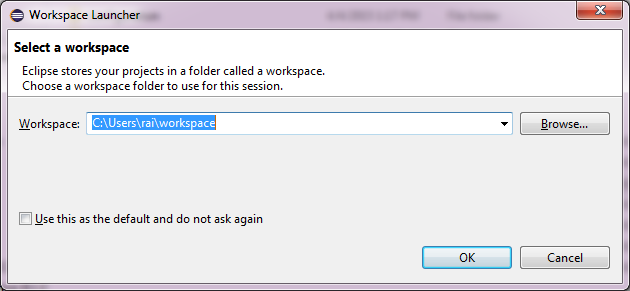
Eclipse would then prompt you to input your project workspace. For your reference a eclipse workspace contains the java project and the settings on your workspace. Either you create a new workspace or load your existing one.
Once eclipse is fully loaded you would be having a similar display like below. But please note that this will come only if the loaded workspace doesn’t have any java project yet.

Close the welcome screen as I have highlighted on the above screenshot. After which lets create a new java application.
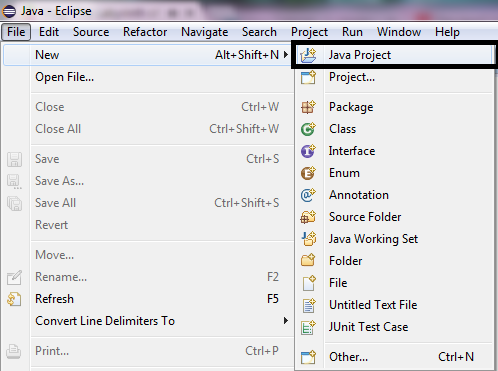
To create a new java project in eclipse, Go to File -> New -> Java Project. It will give a screen that will prompt you for project specific configuration.
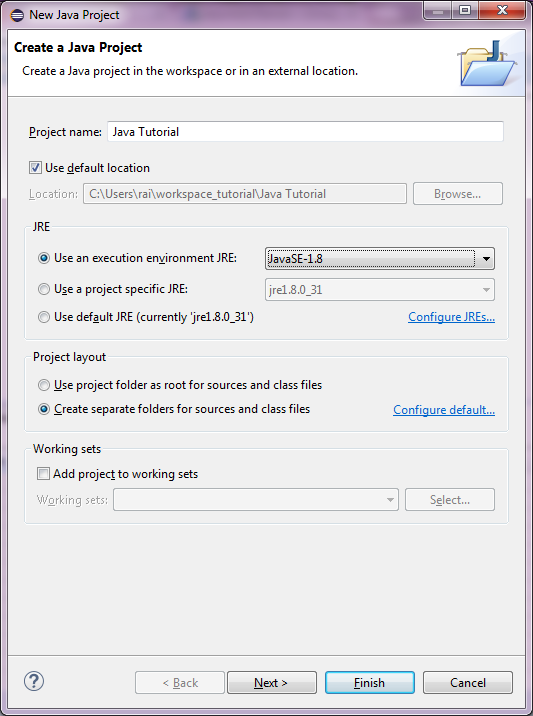
Put a sensible Project name from the screen above preferably just put for now “Java Tutorial”. As you would notice the project name is a folder on the your workspace that we have loaded initially. Basically the java project contains all the java files, resources and libraries that we will be using at development phase.
For the JRE section, just leave as it is. If you already an advance user then you may opt to select different version. After putting the project name and selecting the JRE, just click Finish.
Summary
- Discussed what is IDE
- Select on which java IDE to be used
- Download Eclipse
- Created a new workspace
- Load a new Java Project